First things first:
- Use your (clean) main camera
- Get familiar with the features of your camera app
- Pay attention to natural, bright light
- Find the right perspective
Keep your camera lens clean
Unlike professional camera equipment, our smartphones are exposed to a lot of dirt: crumbly pockets, dusty surfaces, and greasy fingers—all of these can harm or make your unprotected camera lens dirty and cause smudges on your photos. So, remember to gently clean your lens with a microfiber cloth before snapping photos.
Pay attention to lighting
Lighting is everything! Direct, harsh light (like midday sun) causes harsh shadows and overexposure. Too little light makes your photos blurry and too dark. The best lighting is bright but indirect, which gives you soft shadows and adequate exposure. Natural light always looks better than artificial light, so try to take photos outside during the day.
Rules for composition
Rule of Thirds: Your main subject should be in the left or right third of the image, leaving the rest of the space open.
Leading lines: Lines in the image that guide the viewer’s eye through the picture. They should lead to a specific point, like a fence, a path, or train tracks.
Natural frames: Use windows, arches, or other elements to frame your subject.
The Golden Ratio: Composing your photo according to the Golden Ratio is said to create a particularly harmonious effect, as this pattern often appears in nature. Some camera apps can overlay your viewfinder with a grid to help you follow this rule.
Finding the right perspective
Perspective changes everything: Experiment with your camera to find the best angle for each subject. Want to make something look broader and more imposing? Shoot from below. Want it to look slimmer? Angle the camera upwards. Avoid shooting from straight on—a slight angle is usually more effective and flattering.
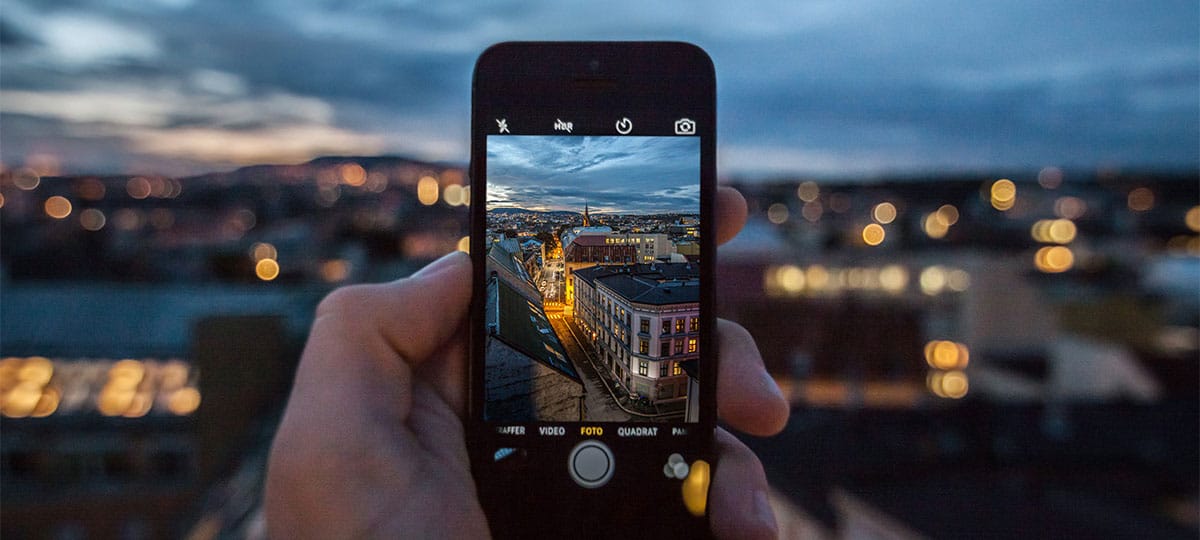
Use the main camera
Unlike the front camera, your smartphone’s main camera has better resolution and autofocus. While the front camera is great for selfies, it can’t match the quality of the main camera!
Get familiar with app tools
Our phones not only have high-quality cameras but also offer a lot of tools in their photo apps to help you take great shots. Use portrait mode to simulate depth of field or sport mode for moving objects. HDR mode helps balance very bright and very dark areas (like sunsets). Some phones even let you overlay a grid for better composition while you’re shooting. In your camera app’s pro mode, you can manually adjust settings like exposure time, ISO, and focus.
Tip: When you tap on your subject on the screen, your smartphone automatically adjusts brightness and focus!
Editing
You’ve captured the perfect moment, but a few details are still bugging you? No worries—editing can fix a lot, even without advanced Photoshop skills! Find the right image section for your shot and crop the image accordingly. This can help you achieve a balanced composition even after the fact. If your photos are too bright or too dark, you can adjust the brightness afterward. Increasing contrast can also make slightly blurry images appear sharper.
Mistakes to avoid
- Blurry photos: Keep your phone steady to avoid blurry shots. Use a stable surface or tripod if needed.
- Insufficient light: Avoid taking photos in poorly lit environments, as this can result in grainy or blurry images. Look for well-lit areas or add extra light if necessary.
- Incorrect focus: Ensure your photos are sharp by setting the focus correctly. Tap on the main subject on the screen to focus on it.
- Zooming instead of moving closer: Avoid using digital zoom, as it can reduce image quality. Physically move closer to your subject instead.
- Ignoring the background: Pay attention to the background of your photos to avoid distractions or unwanted elements. Try to choose a neutral or fitting background.
Further links on the topic:
Do you like our magazine?
Then sign up for our newsletter now!